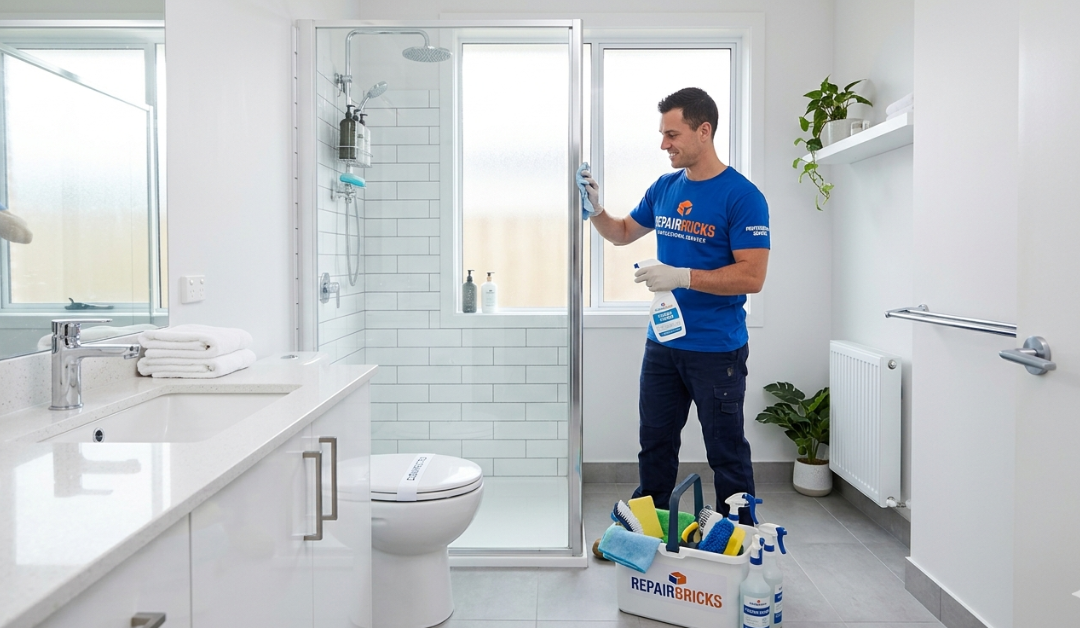
The best way to keep a bathroom hygienic and sparkling isn’t a massive, exhausting deep clean every weekend—it’s about preventing moisture buildup and handling high-touch zones in quick, daily micro-habits.
Because bathrooms are constantly warm and humid, they are the perfect breeding ground for bacteria, mold, and mildew. Here is a highly efficient, practical system to keep your bathroom clean with minimal effort.
1. The Daily Habits (Preventative Maintenance)
Spending just 2 minutes a day saves you hours of scrubbing later.
-
Squeegee or Wipe Down: After the last shower of the day, spend 30 seconds wiping down the glass, tiles, or fixtures. Removing water droplets prevents hard water stains and limescale from forming.
-
The 60-Second Sink Wipe: Keep a pack of disinfectant wipes or a dedicated microfiber cloth under the sink. Every morning after brushing your teeth, quickly wipe down the faucet handles and the rim of the sink.
-
Close the Lid: Always close the toilet lid before flushing. Flushing creates a “toilet plume”—an invisible mist of microscopic particles and bacteria that settles on your countertops, towels, and toothbrushes.
-
Ventilate Constantly: Keep the exhaust fan running during your shower and for at least 15–20 minutes afterward. If you don’t have a fan, keep the bathroom window cracked open. Moving air is your absolute best weapon against black mold.
2. The Weekly Routine (The 15-Minute System)
When you tackle the bathroom weekly, use a systematic Top-to-Bottom, Dry-to-Wet approach so you never clean the same surface twice.
Step 1: Dust and Clear (Dry)
Remove all items from the countertops, shower ledges, and floor. Dust the light fixtures, vents, and the top of the mirror first, letting any dust fall to the floor.
Step 2: Spray and Dwell (Wet)
Apply your cleaners and let them do the heavy lifting for you.
-
Toilet: Squirt toilet bowl cleaner under the rim and let it sit.
-
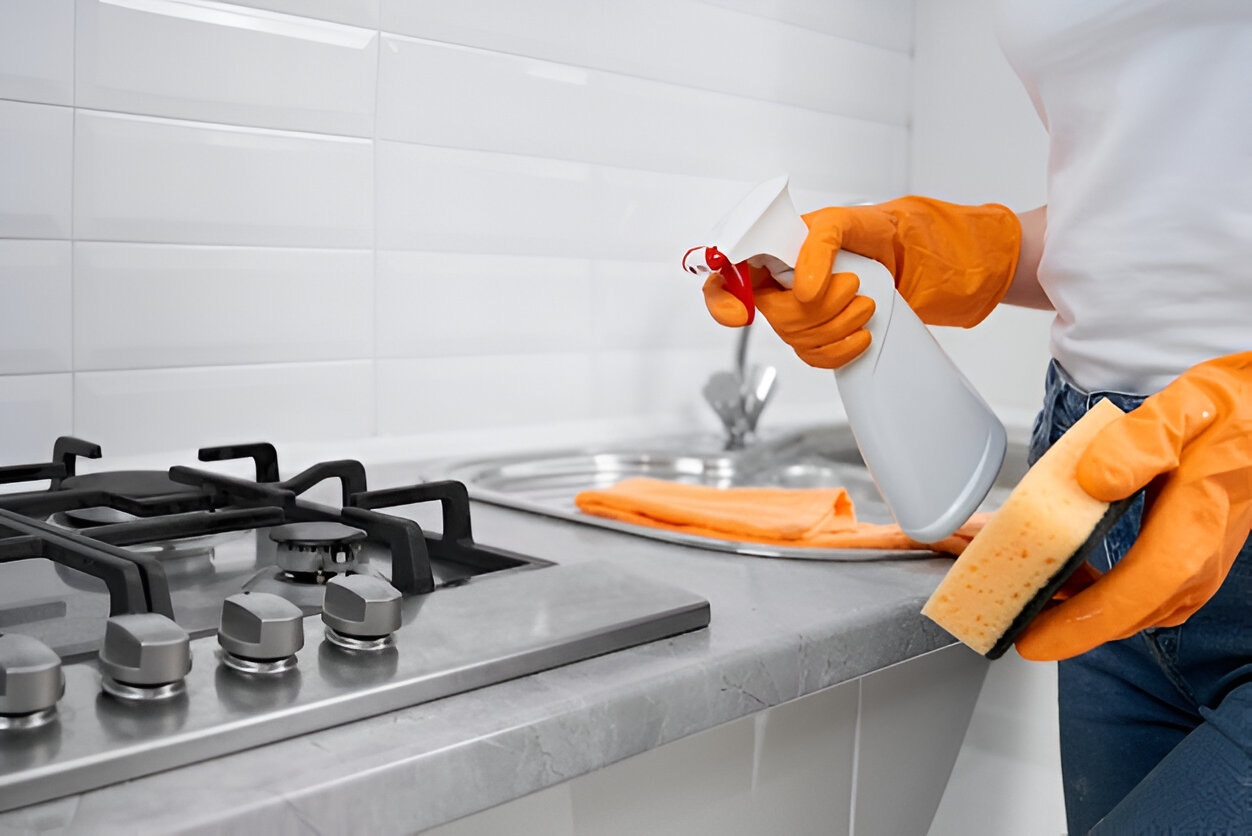
Shower & Sink: Spray an antibacterial bathroom cleaner or a 50/50 water-and-vinegar mix onto the fixtures, tiles, and sink.
-
Crucial Step: Let the sprays sit for 5–10 minutes. Disinfectants need “dwell time” to actually kill bacteria and break down soap scum.
Step 3: Scrub and Rinse
-
Scrub the toilet bowl with a brush and flush. Wipe down the flush handle, seat, and base with a disinfectant spray.
-
Wipe down the sink, counter, and shower walls with a non-scratch scrub sponge, then rinse thoroughly with water.
-
Clean the mirror with a microfiber cloth and glass cleaner (or water) for a streak-free finish.
Step 4: Floor and Trash
Vacuum or sweep up the fallen dust and hair, then mop the floor with a disinfectant floor cleaner. Empty the trash bin and replace the liner.
3. High-Hygiene Zones (Often Overlooked)
-
Toothbrush Holders: The bottom of toothbrush cups is often one of the dirtiest spots in the house due to dripping water. Wash it weekly with dish soap or run it through the dishwasher.
-
Bath Mats & Towels: Damp towels and fabric bath mats hold onto skin cells and bacteria. Wash towels after 3–4 uses, and wash fabric bath mats weekly on a hot cycle.
-
The Toilet Brush: Never put a wet toilet brush back into its holder immediately. Prop the handle under the toilet seat lid so the brush drips directly into the bowl until it’s completely dry.
Simple DIY Cleaning Sprays
If you prefer to avoid harsh chemicals, you can make highly effective cleaners using basic household ingredients:
-
Daily Shower Spray: Mix 1 cup of water, 1 cup of white vinegar, and 1-2 drops of dish soap in a spray bottle. Spray on shower walls daily after use to completely prevent soap scum buildup (no rinsing required).
-
Limescale Remover: To clean crusty buildup around faucets, soak a paper towel in pure white vinegar, wrap it around the fixture for 30 minutes, then scrub gently with an old toothbrush.